You can change the print file associated with an order before it is sent to production, provided your store settings allow for it. This guide will walk you through the correct setup and steps to make that change.
Set the Correct Store Settings
To ensure you can change print files before production begins, first update your store settings:
-
Access Stores from the dashboard.
-
Click the three dots on the right side of the store listing and select Settings.

- Scroll to the section labeled “When you want orders sent to production.”
-
Choose one of the following options:
-
Manually – Orders will be created as drafts and only go into production after you manually approve them.
-
Delayed – Orders will be sent to production after a custom delay (e.g., 60 minutes), giving you time to make changes.
-
Note: Manual Orders (orders created directly via the “Create Order” button on the dashboard) do not follow the production timing settings configured in the store. These orders are sent directly to production once submitted. As a result, you cannot update the print file after submission for Manual Orders.

The Delayed option allows to set up a custom time, after which your order will automatically go into production, e.g., 60 minutes.
 Update the Print File
-
Go to your Orders tab.
-
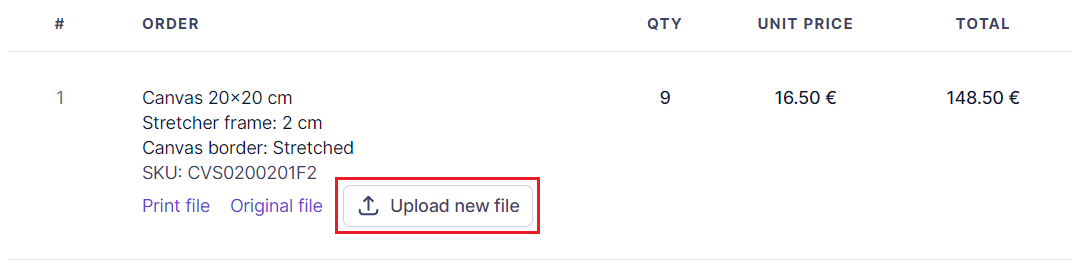
Click on the relevant order number to open its details.
-
Click Upload new file. Please note, that the specifications of the new print file must be the same as the old one.
- After uploading, click Accept Order to send it to production.

Applying This Process to Custom Artwork
If a customer provides their own image and you need to replace the original print file with custom artwork, simply follow the same upload steps, as long as the production has not yet started.